
Migrate Your Create-React-App to Vite Easily!
How to Migrate CRA app to Vite


Table of contents
- Why Vite?
- Well, Seems Interesting...! But How to Migrate?
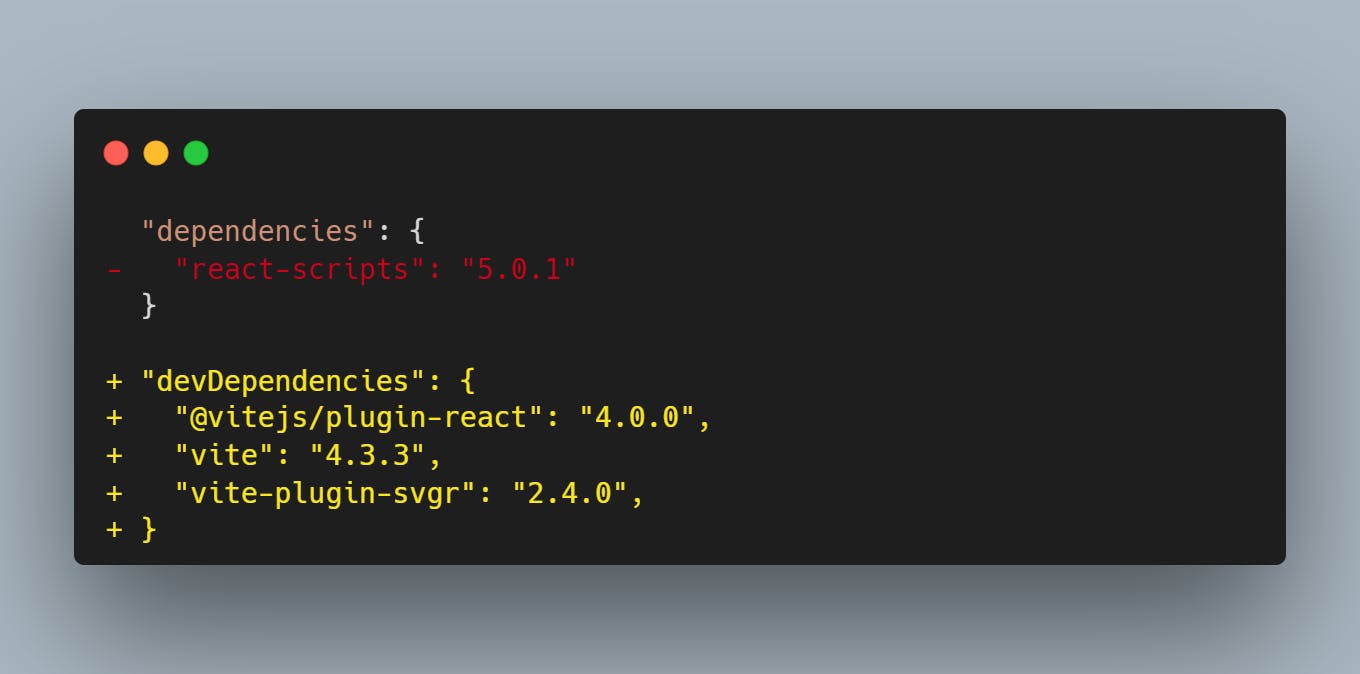
- 1. First, Install two dependencies:
- 2. Replace Existing Scripts in package.json
- 3. Now, In your index.html remove all the %PUBLIC_URL%.
- 4. Now add an entry point to your index.html file:
- 5. Now, add a vite.config.ts or vite.config.js to the root of your project
- 6. Create a vite.env.d.ts to your src directory
- 7. Handling Environment Variables
- 8. Edit TSconfig.json
- 9. TypeScript Path Aliases
- Additional Steps:
- Final Thoughts
Recently I have migrated some of my existing React projects to Vite, and the results are shocking. The development process has been drastically faster for quick build time.
In this article, I will discuss why to switch to Vite and how quickly you can achieve this.
Why Vite?
Though, no such drawbacks to using Create React App, you can achieve a significantly faster development cycle using Vite. Here are some of the reasons for that:
Vite uses ESmodules in the browser to load your code instantly, no matter how large that is.
Vite uses Hot Module Replacement (HMR) for a faster feedback loop during development.
While using production build, Vite uses Rollup. Rollup has better tree shaking than Webpack, which can eliminate unused code more effectively and reduce the bundle size.
Well, Seems Interesting...! But How to Migrate?
1. First, Install two dependencies:
npm install --save-dev vite @vitejs/plugin-react vite-plugin-svgr
And then remove react-scripts from your project:
npm uninstall react-scripts
Now Move your
index.htmlfile which was in your public folder to the root of your project
2. Replace Existing Scripts in package.json
"scripts": {
    "start": "vite",
    "build": "vite build",
    "preview": "vite preview"
}
3. Now, In your index.html remove all the %PUBLIC_URL%.
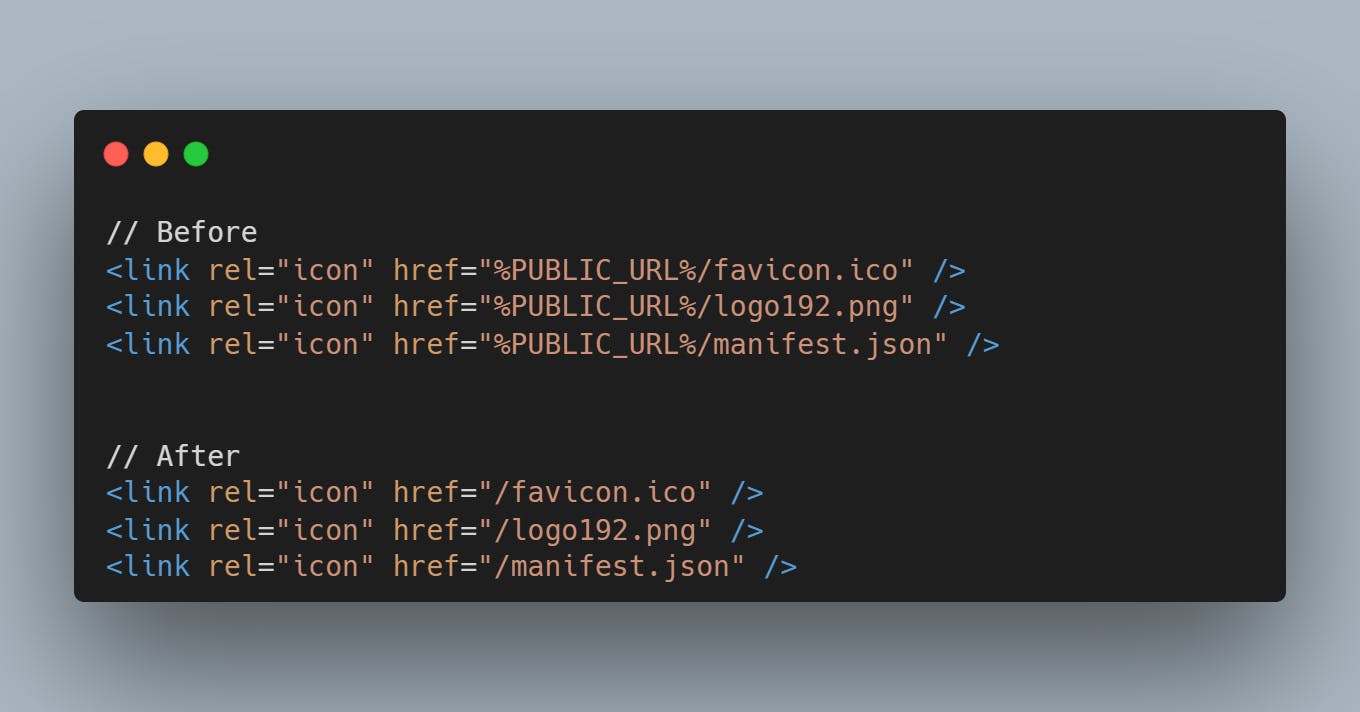
// Before
<link rel="icon" href="%PUBLIC_URL%/favicon.ico" />
// After removing %PUBLIC_URL%
<link rel="icon" href="/favicon.ico" />
4. Now add an entry point to your index.html file:
<!-- entry point 👇 -->
<script type="module" src="/src/index.tsx"></script>
5. Now, add a vite.config.ts or vite.config.js to the root of your project
you will need
vite-plugin-svgrif you're using svg in your projects. Otherwise vite will throw an error.
import { defineConfig } from 'vite';
import react from '@vitejs/plugin-react';
import svgrPlugin from 'vite-plugin-svgr';

export default defineConfig({
  plugins: [react(), svgrPlugin( { icon: true } )],
});
6. Create a vite.env.d.ts to your src directory
If you use TypeScript then add:
/// <reference types="vite/client" />
Now to use SVG, also add this to vite.env.d.ts
/// <referencetypes="vite-plugin-svgr/client" />
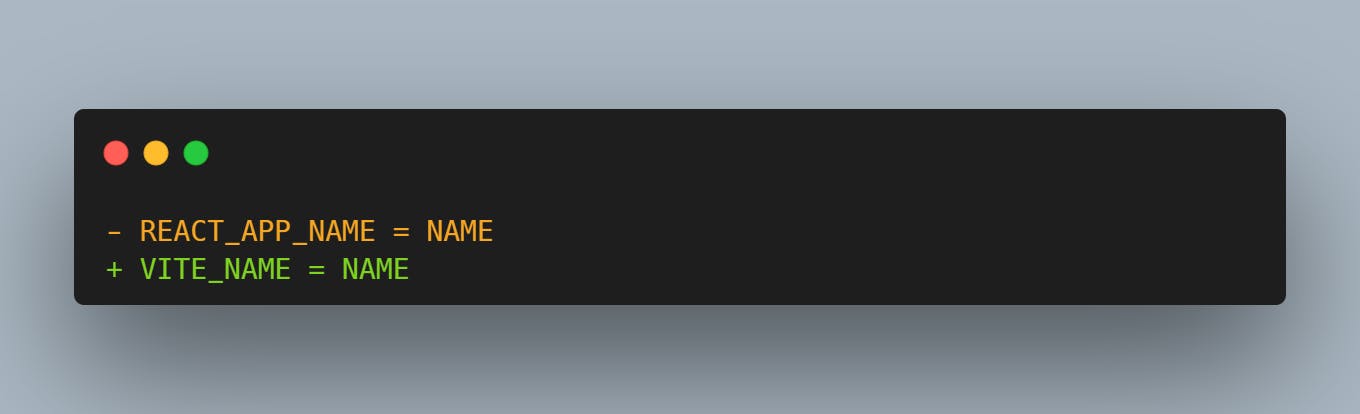
7. Handling Environment Variables
Now in your project, you may have variables that start with REACT_APP_ but on Vite, those are needed to be replaced with VITE_:
But doing this may be time-consuming, To overcome that you need to install vite-plugin-env-compatible
npm i vite-plugin-env-compatible
now in your vite.config.ts file:
import { defineConfig } from 'vite';
import react from '@vitejs/plugin-react';
import svgrPlugin from 'vite-plugin-svgr';
import envCompatible from 'vite-plugin-env-compatible';

export default defineConfig({
  envPrefix: 'REACT_APP_',

  plugins: [react(), envCompatible(),svgrPlugin( { icon: true } )],
});
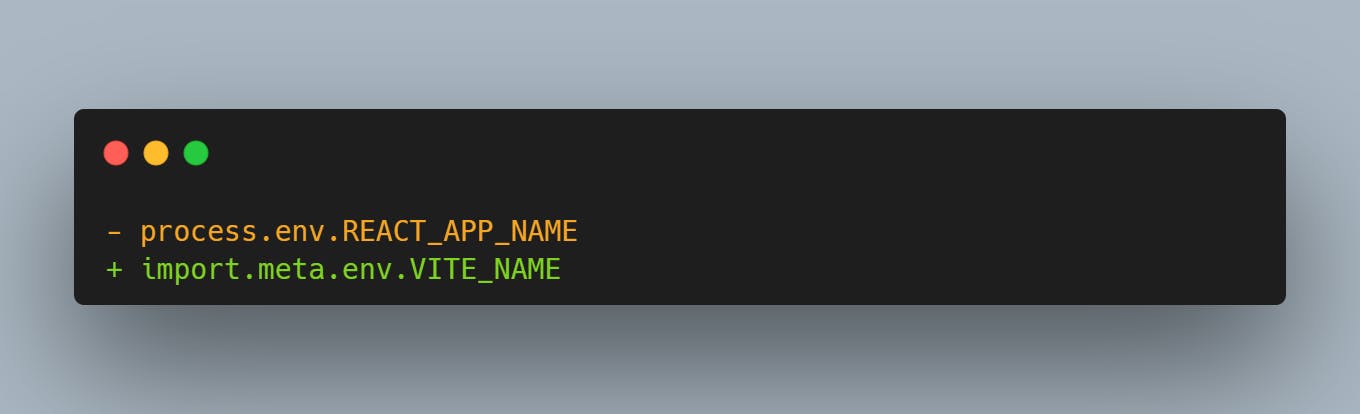
Now you don't need to change variable prefixes. But in react we import those variables as process.env.VARIABLE_NAME but in Vite, you need to replace those as import.meta.env.VARIABLE_NAME
8. Edit TSconfig.json
Things you need to update in tsconfig.json are types. For example:
{
  "compilerOptions": {
    ...
    "types": ["vite/client", "vite-plugin-svgr/client"],
    ...
  },
  ...
}
9. TypeScript Path Aliases
For the path aliases to work in your project you need to install vite-tsconfig-paths :
npm i vite-tsconfig-paths
Then on your vite.config.ts :
import { defineConfig } from 'vite';
import react from '@vitejs/plugin-react';
import svgrPlugin from 'vite-plugin-svgr';
import envCompatible from 'vite-plugin-env-compatible';
import tsconfigPaths from 'vite-tsconfig-paths';

export default defineConfig({
  envPrefix: 'REACT_APP_',

  plugins: [react(), envCompatible(), tsconfigPaths(), svgrPlugin( { icon: true } )],
});
Additional Steps:
1. Change Build Output folder:
By default, Vite generates a dist/ folder for generated build files. However, you can change that folder name
on your vite.config.ts file:
import { defineConfig } from 'vite';
import react from '@vitejs/plugin-react';
import svgrPlugin from 'vite-plugin-svgr';
import envCompatible from 'vite-plugin-env-compatible';
import tsconfigPaths from 'vite-tsconfig-paths';

export default defineConfig({
  envPrefix: 'REACT_APP_',

  plugins: [react(), envCompatible(), tsconfigPaths(), svgrPlugin( { icon: true } )],
  // add this 👇
  build: {
      outDir: "build",
  },
});
2. Change the server port
on your vite.config.ts file:
import { defineConfig } from 'vite';
import react from '@vitejs/plugin-react';
import svgrPlugin from 'vite-plugin-svgr';
import envCompatible from 'vite-plugin-env-compatible';
import tsconfigPaths from 'vite-tsconfig-paths';

export default defineConfig({
  envPrefix: 'REACT_APP_',

  plugins: [react(), envCompatible(), tsconfigPaths(), svgrPlugin( { icon: true } )],
  build: {
      outDir: "build",
  },
  // add this 👇
  server: {
      port: 4000,
      open: true, // this will open directly to your browser
  },
});
And... You're Done!!
Final Thoughts
Migrating from Create-React-App was pretty simple. After implementing this the development experience has been great and fast! If you find this article helpful consider dropping a like and comment down to share your thoughts!